A Minecraft server is a dedicated environment where players can connect, build, and play together in the same persistent world. While it’s possible to host a server from your own computer, using a cloud or VPS hosting provider gives you better game experience and public access without keeping your home PC on 24/7.
In this guide, we’ll walk you through how to set up a Minecraft server using a hosting server. Whether you’re launching a small world for friends or building a large modded community, this step-by-step tutorial covers what you need, how to deploy the server, and how to keep it running smoothly.
What Do You Need to Host a Minecraft Server Online?
First thing first. To host a Minecraft server on a VPS or cloud platform, you’ll need a server with root access, enough hardware resources to run Java processes, and a few tools to manage files and connectivity. Most vanilla setups don’t require high-end specs, but if you’re planning to use mods or host many players, performance matters.
Here’s a quick overview of what you’ll need:
| Requirement | Details |
|---|---|
| Hosting Provider | VPS or cloud server (e.g. Hostinger, Kamatera, DigitalOcean) |
| Operating System | Ubuntu 22.04 LTS or Debian 12 (fresh install preferred) |
| CPU | 2 virtual cores or more |
| RAM | 4 GB minimum for vanilla; 6–8 GB+ for modded servers |
| Storage | 20 GB SSD or higher |
| Bandwidth | At least 1 TB/month (more if public) |
| Root Access | SSH login with full control over server environment |
| Java Runtime | OpenJDK 17 or newer |
| Minecraft Server File | Official .jar file (Java Edition) from Minecraft.net |
| Optional Tools | SFTP client, domain name, firewall (UFW), backup script/control panel |
Step-by-step to Setup Your First Minecraft Server
Moving on next: we’ll show you how to pick the right hosting provider and deploy your Minecraft server with a clean Linux setup.
Step 1: Choose a Hosting Provider with Sufficient Resources
To make a Minecraft server online, you need a hosting provider that offers full server access, enough hardware power, and a stable network connection. While almost any VPS can run Minecraft, choosing a host with Minecraft-ready features can save you time and avoid setup issues.
Here are three recommended hosting providers that work well for Minecraft servers:
| Hosting Provider | Starting Plan Specs | Price Range | Strengths |
|---|---|---|---|
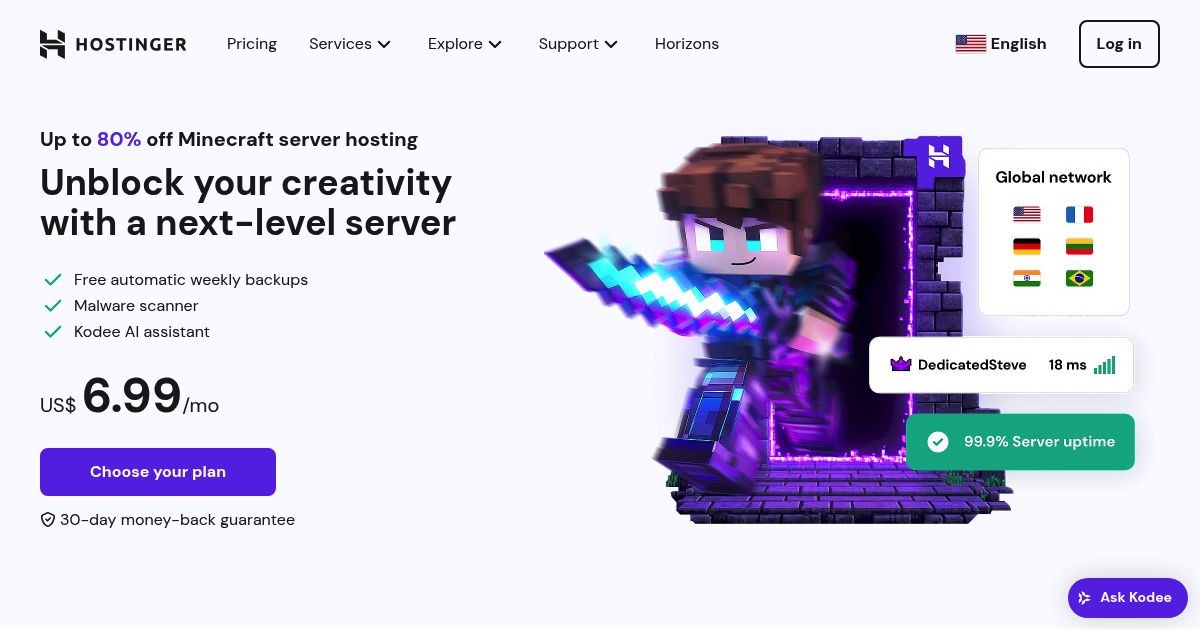
| Hostinger (Game Panel) | 2 vCPU, 2 GB RAM, 50 GB SSD | From ~$6.99/mo | Pre-installed Minecraft Game Panel, easy plugin/mod support |
| Kamatera | Fully custom (e.g. 2 vCPU, 4 GB RAM) | Pay-per-hour or monthly | High flexibility, global data centers, scale-as-you-grow |
| Apex Minecraft Hosting | 2 GB RAM (Minecraft-optimized) | From ~$7.49/mo | Game-focused hosting, instant setup, great support |
Note: Hostinger’s Game Panel plan and Apex are ideal for beginners who want a ready-to-run setup with built-in control panels. Kamatera suits advanced users who prefer manual setup and need custom resource control.
Step 2: Deploy and Set Up a Virtual Server
Once you’ve selected a provider, create a virtual server instance (VPS or cloud VM). Here’s how to set it up:
- Choose a clean OS – Go with Ubuntu 22.04 LTS or Debian 12. These are well-supported and secure for Minecraft hosting.
- Select your server region – Pick a location near your player base (e.g., Singapore for Southeast Asia, Frankfurt for Europe).
- Set root login access – Use either a strong root password (auto-generated or manual) or an SSH public/private key pair for secure logins.
- Complete deployment – Most providers will have your server live in 1–5 minutes.
Once it’s ready, connect to your server using an SSH terminal.
Step 3: Install Java (Minecraft Server Runtime)
Minecraft servers require Java to run. Here’s how to install it on your new VPS:
- Connect via SSH – Use the terminal (macOS/Linux) or PuTTY (Windows):
ssh root@your_server_ip - Update server packages – Run the following to ensure your system is current:
sudo apt update && sudo apt upgrade -y - Install OpenJDK 17 or newer – Java 17 is the current long-term support version compatible with Minecraft:
sudo apt install openjdk-17-jre-headless -y - Confirm Java installation – Verify it’s working:
java -version
If you see output confirming Java 17+, you’re ready to install the Minecraft server in the next step.
Step 4: Download and Run the Minecraft Server
Now that your hosting server is ready and Java is installed, it’s time to download and run the actual Minecraft server.
- Create a working directory for the server – This keeps your files organized:
mkdir /minecraft && cd /minecraft - Download the official Minecraft server file – Get the
.jarfile for the Java Edition from Minecraft.net (official page here). You can usewgetto download directly:wgethttps://piston-data.mojang.com/v1/objects/6e64dcabba3c01a7271b4fa6bd898483b794c59b/server.jar-O server.jar(Replace the URL with the latest one from the website) - Accept the EULA – The first run will fail intentionally, but it creates the config files:
java -Xmx2G -Xms1G -jar server.jar noguiThen edit theeula.txtfile:nano eula.txtChangeeula=falseto:eula=true - Start the server again – Now the server will launch normally:
java -Xmx2G -Xms1G -jar server.jar noguiYou’ll see the server console load and start generating the Minecraft world.
Step 5: Open the Required Port (25565)
To let other players join your Minecraft server, you’ll need to allow inbound traffic through port 25565 (the default Minecraft port).
If you’re using a control panel like Hostinger’s Game Panel or Apex Hosting, port access may be pre-configured. For manual cloud server setups (like Kamatera), UFW or iptables should be adjusted manually.
- Enable the port using UFW – If UFW (Uncomplicated Firewall) is active on your server:
sudo ufw allow 25565/tcp - Confirm it’s open –
sudo ufw statusYou should see a line that includes25565/tcp ALLOW.
Step 6: (Optional) Point a Domain or Subdomain to Your Server
You can make it easier for friends to join your server by connecting a domain name instead of sharing an IP address. Once set, players can join your server using something like play.yoursite.com instead of a raw IP address.
Steps to follow:
- Buy or use an existing domain – Domains can be registered through providers like Namecheap or via Hostinger’s panel.
- Create an A record in DNS settings
- Host:
play(or any subdomain you prefer) - Type: A
- Value: Your server’s public IP address
- TTL: Default (or 300 seconds)
- Host:
- Wait for DNS propagation – This can take anywhere from a few minutes to a few hours.
What to Do After Your Minecraft Server Is Up and Running?

Once your Minecraft server is live, there are a few important things to consider to ensure smooth gameplay, good performance, and long-term stability – especially if you plan to host multiple players, use mods, or grow a public community.
This section covers what matters after setup.
Join and Test Your Server
The first thing you should do is test the connection from a player’s point of view.
Open Minecraft Java Edition, go to Multiplayer, and use the Direct Connect option to enter your server’s IP address or domain (e.g. play.yoursite.com). If everything’s working, you should load into the world without issue.
At the same time, monitor your server terminal or Game Panel to confirm your player connection appears in the logs. This quick check verifies that your port settings, firewall, and Minecraft installation are all functioning correctly.
Optimize Server Performance
You can improve your server’s performance by increasing the allocated RAM, switching to a performance-optimized server jar, and fine-tuning your configuration files.
- If you’re noticing lag or performance drops, adjust your start command to allocate more memory.
- Using Paper or Spigot in place of the default .jar file also helps reduce server load and adds plugin support.
- In the
server.propertiesfile, reducing view distances or disabling unused features (like command block usage) can significantly improve tick rates. - For servers that run around the clock, consider scheduling daily restarts to clear memory and prevent slowdowns.
Add Plugins or Mods
If you want to extend the gameplay experience, you can install plugins or mods depending on the type of server you’re using. Plugins are best for adding extra commands, permissions, or quality-of-life features without modifying the core game.
To install, simply drop the .jar plugin files into the /plugins folder and restart the server.
For deeper customization, mods can be added using Forge or Fabric, but keep in mind that every player must use the same mod versions as the server. Modded servers typically require more RAM and are better suited to players comfortable with manual installations or using a host like Apex that supports one-click modpacks.
Secure and Maintain Your Server
Security and backups are often overlooked until something goes wrong.
If you’re managing the server yourself on a VPS, start by creating a separate non-root user for daily operations, and consider changing the default SSH port or enabling key-based login to prevent brute-force attacks.
You should also schedule regular backups of your world files using automated scripts or backup tools from your host. If your server is public or semi-public, it’s a good idea to install permissions or whitelist plugins to restrict access and prevent griefing.
Tools like EssentialsX or LuckPerms give you fine control over what each player can do.
Wrapping Up
Running your own Minecraft server on a hosting provider gives you more than just freedom to play. It gives you total control over world settings, mods, and who gets to join. Whether you’re setting up a small world for friends or building a multiplayer hub, starting with the right host ensures you get the performance and stability Minecraft demands.
With your server now up and running, you can optimize as needed, add plugins or modpacks, and scale your resources as your player base grows. And if something breaks? Most issues are fixable with a few commands or configuration tweaks. Hosting Minecraft yourself might feel technical at first, but the payoff is a smoother, more customizable experience that you control end to end.
FAQ: Common Minecraft Server Hosting Questions
What’s the difference between a modded Minecraft server and a regular one?
A regular (vanilla) server uses Mojang’s default server file and allows basic multiplayer gameplay without any modifications. A modded server, on the other hand, uses frameworks like Forge or Fabric to load mods – these change gameplay features, add new items or mechanics, and require more system resources. Everyone connecting to a modded server must use the same modpack version on their Minecraft client.
How many players can I host with 2 GB or 4 GB of RAM?
A 2 GB setup is suitable for 2 to 4 players on a vanilla server with minimal plugins. For 5 to 10 players or any kind of modded setup, you’ll want at least 4 GB of RAM and 2 vCPUs. If you expect heavier activity (e.g., redstone farms, chunk loaders, or 20+ players), scaling to 6–8 GB RAM and better CPU performance is recommended.
When should I upgrade my Minecraft hosting plan?
You should consider upgrading your hosting plan when performance starts to drop or your server begins to outgrow its current resources. Signs include noticeable lag during gameplay, slow chunk loading, or a drop in tick rate (TPS below 20). If your server runs out of RAM frequently or crashes when more players join, that’s a clear signal you need more memory or CPU power. Likewise, if you’re planning to install heavy modpacks, increase player slots, or host public events, scaling up your VPS or switching to a higher-tier plan will help maintain smooth gameplay and reduce downtime. Hosting providers like Kamatera make this easy with flexible resource scaling, while Minecraft-specific hosts often offer upgrade paths designed for growing servers.
Why can’t my friends connect to my server?
If your friends can’t join your Minecraft server, the most common cause is a network or firewall issue. Make sure that port 25565 is open on your server and allowed through any active firewall settings (like UFW or iptables). Also confirm that you’re sharing your public IP address, not a private or local one. If you’re using a domain or subdomain, DNS propagation can take time – it may take several hours before your domain becomes reachable. Another common issue is version mismatch: if your server is running a modded or outdated build, your friends will need to use the exact same Minecraft version and mods to connect.
How do I back up my Minecraft world?
To back up manually, stop the server and copy the /world, /world_nether, and /world_the_end folders to a backup directory. On VPS setups, you can automate this using a cron job and tar or rsync. If you’re using a control panel like Hostinger’s Game Panel or Apex, you may have access to one-click backup tools.
Can I host a Bedrock Edition server with this method?
No. This guide is specifically for Minecraft Java Edition servers. Bedrock Edition uses different server software and has its own hosting requirements. Some hosting providers offer dedicated Bedrock server plans as a separate product.